Keywords integrated: Step-by-Step Installation Guide for Heavy Duty Cantilever Tube Storage Racks
In modern industrial warehousing, efficiency, safety, and space optimization are non-negotiable. Among the most advanced storage solutions available today, heavy-duty telescopic cantilever tube storage racks stand out for their ability to handle long, bulky materials like steel bars, lumber, pipes, and aluminum extrusions. However, their performance hinges on a precise and professional installation process. This comprehensive guide walks you through every critical phase of installing these robust systems—ensuring structural integrity, operational smoothness, and long-term reliability.
Why Proper Installation Matters
Improperly assembled cantilever racking can lead to catastrophic failures under load, risking both personnel safety and inventory loss. Unlike standard pallet racking, telescopic cantilever systems involve moving components, precise alignment, and dynamic load distribution. Therefore, following a meticulous, step-by-step procedure is essential—not optional.
Pre-Installation Preparation
Before any physical assembly begins, conduct a thorough site assessment:
- Verify floor flatness (maximum deviation: ±3 mm over 3 meters).
- Confirm concrete slab thickness (minimum 150 mm) and compressive strength (≥25 MPa).
- Mark anchor bolt locations based on rack layout drawings.
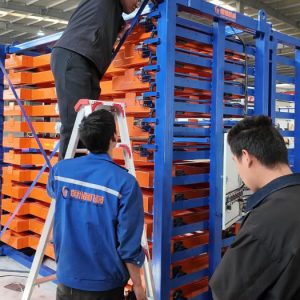
- Ensure all components—uprights, arms, braces, chains, and fasteners—are present and undamaged.
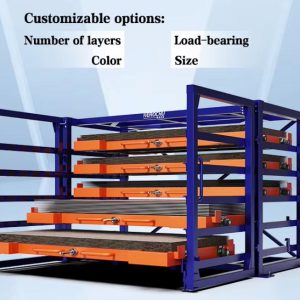
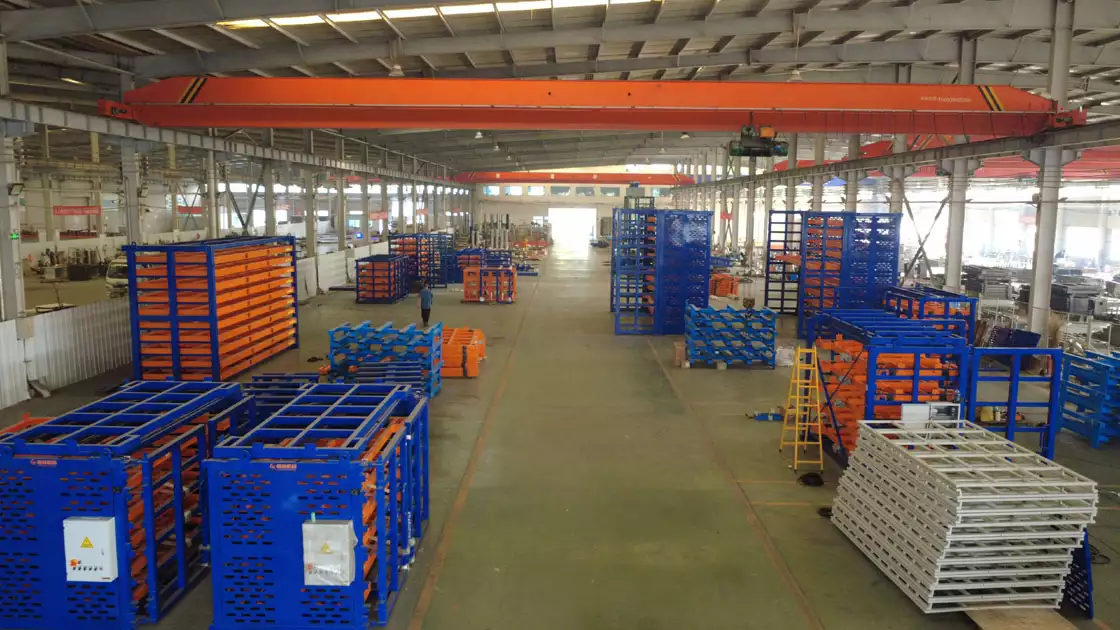
All parts should be made of high-grade carbon steel, typically with a powder-coated finish in white, blue, or custom colors for corrosion resistance and visual identification.
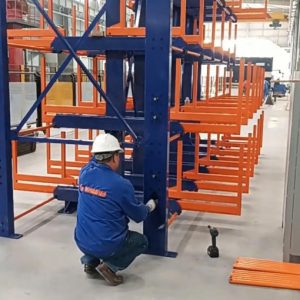
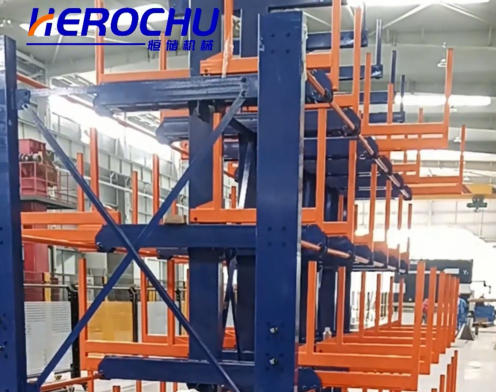
Phase 1: Erecting Upright Columns
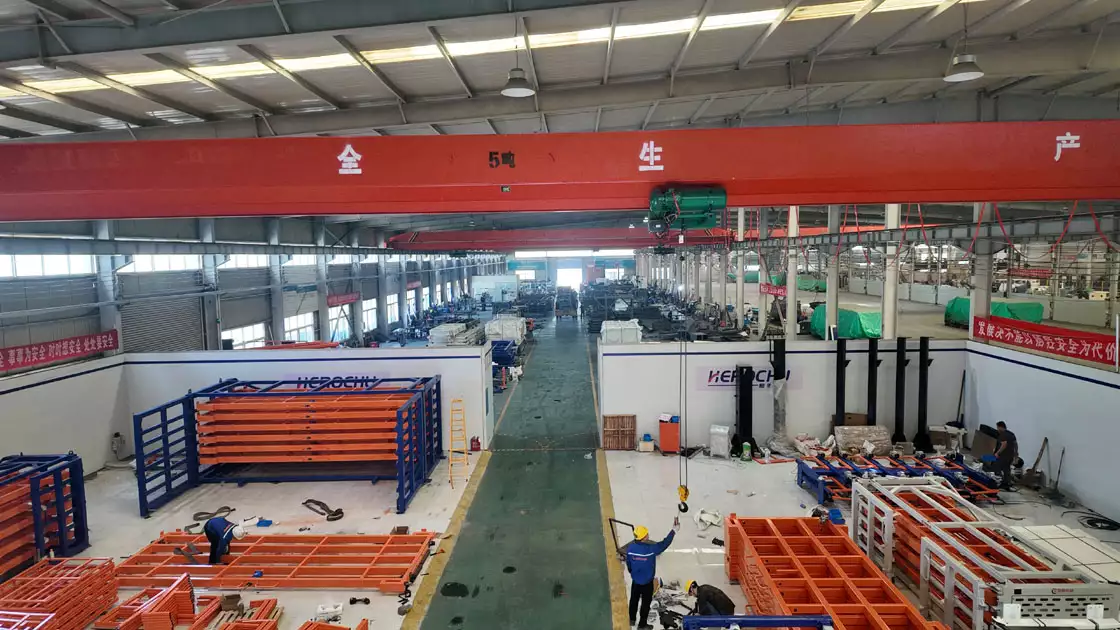
Begin by connecting the top square tubes across the first pair of upright columns. These horizontal connectors provide initial stability. Position the first set of uprights at the designated location and attach angle iron cross braces between them. These braces prevent lateral sway and are critical for seismic resilience.
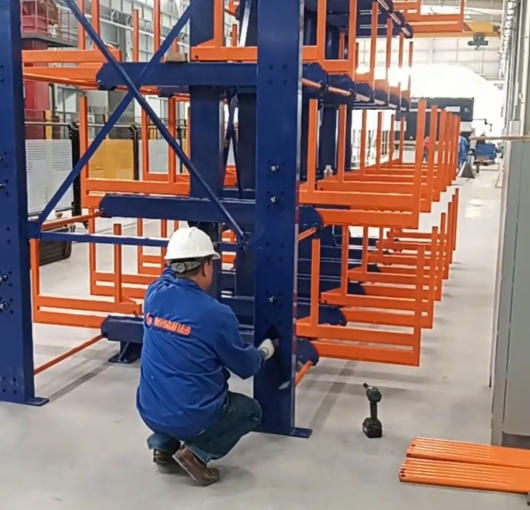
Next, erect the second set of upright columns adjacent to the first. Immediately connect them using additional angle irons and diagonal braces—these form a rigid triangular support structure that resists torsion. Repeat this sequence for the third, fourth, and subsequent upright sets, always ensuring rear cross braces are installed to create a unified frame.
Pro Tip: Use a laser level during this stage. Even a 2° vertical deviation can compromise load capacity and smooth arm extension.
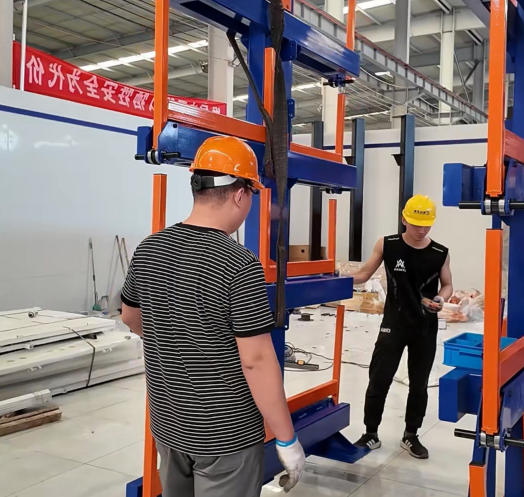
Phase 2: Installing Telescopic Arms
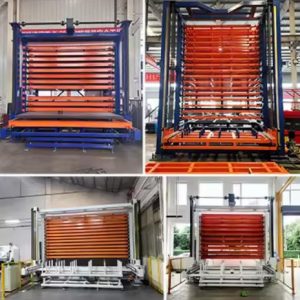
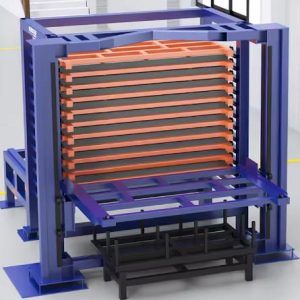
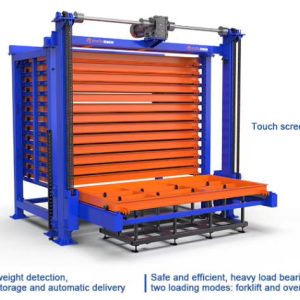
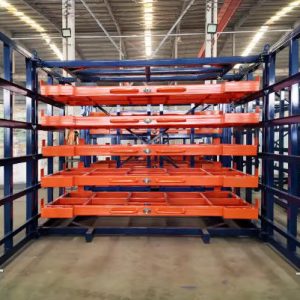
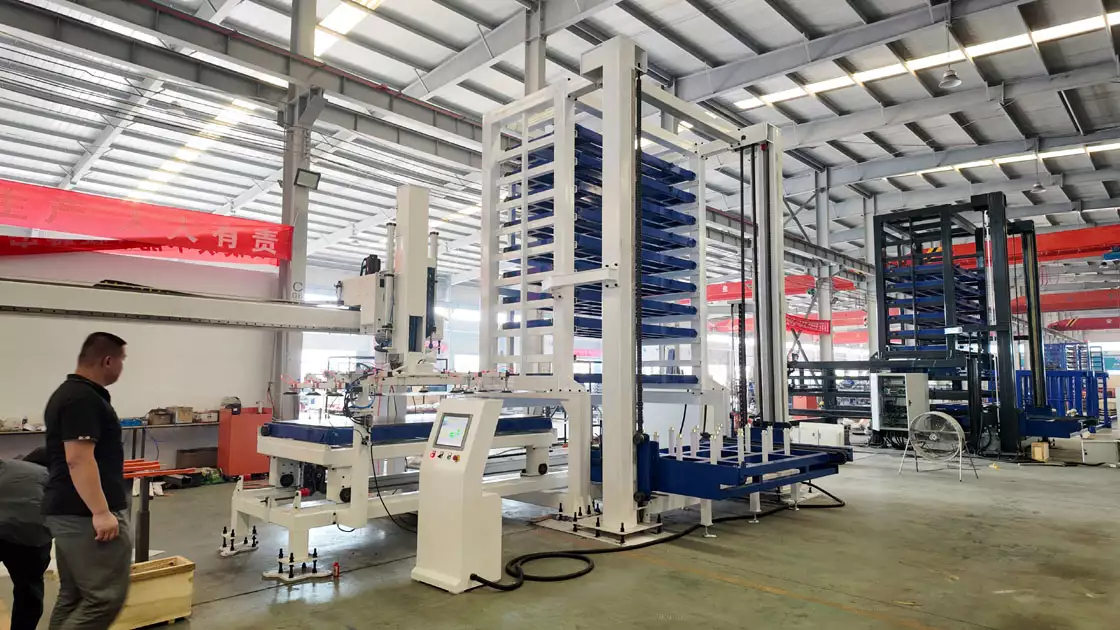
Once all uprights are in place, install the welded round tubes that serve as the sliding rails for the cantilever arms. Adjust spacing according to your material lengths—typical configurations support 4 to 12 layers, customizable per client needs. Insert all round tubes but do not fully tighten screws yet. This allows minor adjustments during alignment.
Each arm is designed to support 3 to 8 tons per layer, making material selection and weld quality paramount. The arms extend outward when needed and retract flush against the uprights when idle—eliminating the need for forklift turning aisles and boosting storage density by 200–300% compared to conventional racks.
Phase 3: Chain Box and Drive System Assembly
The chain boxes—which house the extension mechanism—are next. First, secure them to the upright columns using round tubes as structural links. Then, connect the two internal chains and interlink them with angle irons to ensure synchronized movement. For electric models, integrate the motor unit at this stage; for manual versions, attach the hand-crank assembly.
This system enables single-side or double-side assisted operation, allowing one operator to extend any desired layer with minimal effort. Electric variants offer one-button control, drastically reducing material handling time.
Phase 4: Alignment and Final Tightening
With all components loosely assembled, begin the critical alignment phase:
- Use precision levels to adjust vertical plumb (±1 mm/m tolerance).
- Check horizontal alignment across all uprights.
- Ensure all arms move smoothly without binding.
Only after perfect alignment should you fully tighten all bolts and nuts. This prevents stress concentration and ensures even load distribution.
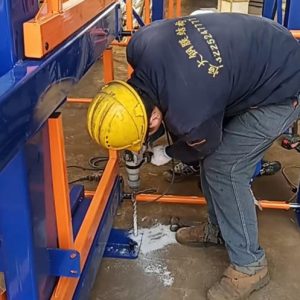
Phase 5: Anchoring and Load Testing
Drill holes for anchor bolts at pre-marked locations. Use high-strength chemical or mechanical anchors rated for dynamic loads. Torque bolts to manufacturer specifications (typically 80–100 Nm).
Finally, conduct a gradual loading test:
- Start with 25% of max capacity.
- Inspect for deflection, noise, or misalignment.
- Incrementally increase to 100%, holding each stage for 10 minutes.
Only after successful testing should the system be cleared for daily use.
Operational Benefits Recap
- Space Efficiency: No forklift aisles needed; racks retract when unused.
- Customization: Adjustable layers, colors, and load capacities.
- Ease of Use: Manual or electric operation; compatible with cranes and forklifts.
- Safety & Compliance: Meets FEM, RMI, and ISO standards when installed correctly.
In conclusion, while heavy-duty telescopic cantilever tube racks offer unmatched storage advantages, their value is only realized through professional, methodical installation. Skipping steps or rushing alignment risks system failure. Invest time upfront—your warehouse’s safety and productivity depend on it.