

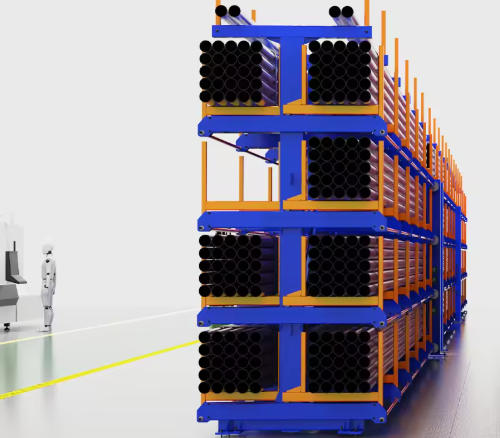
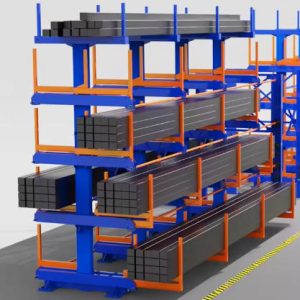
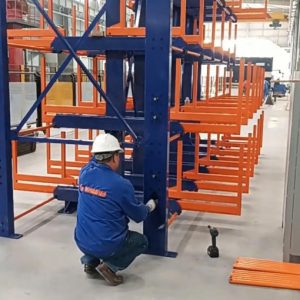
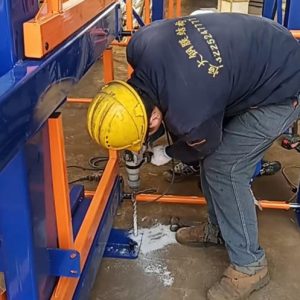
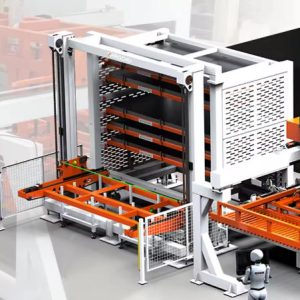
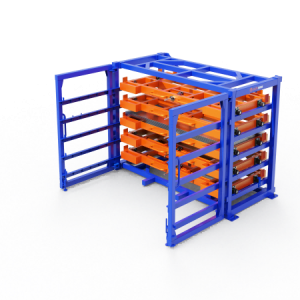
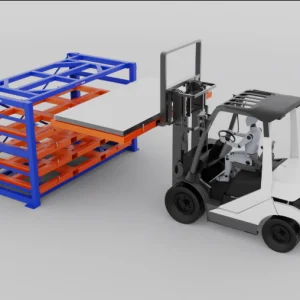
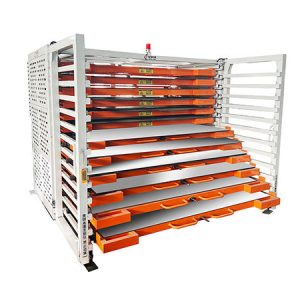
Installation Procedure for Roll out Pipe Storage Racks: A Step-by-Step Guide for Optimal Performance
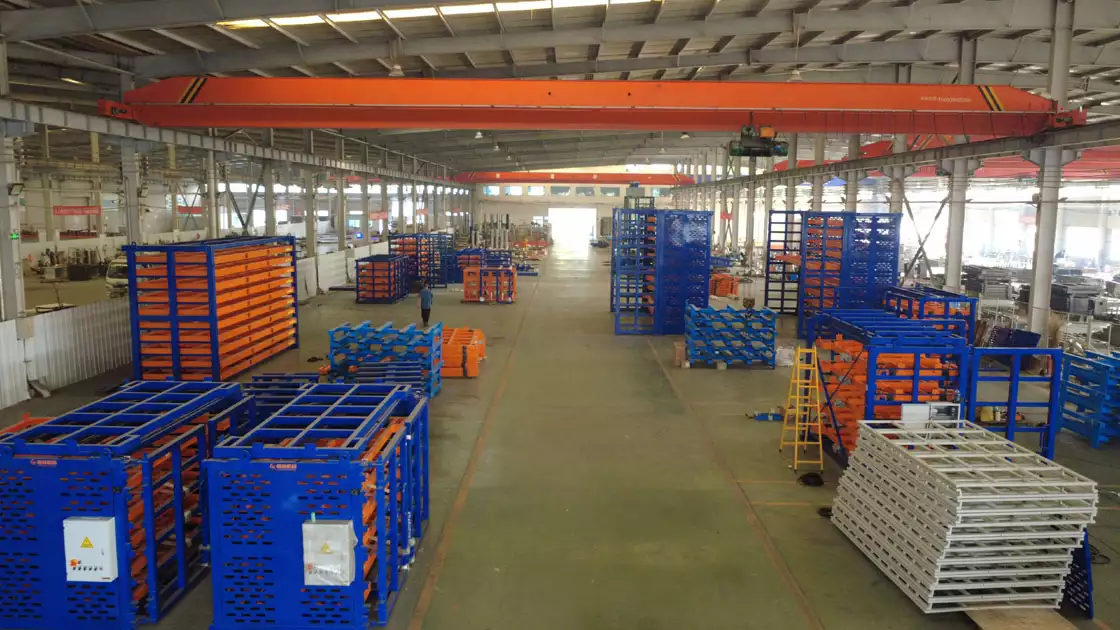
Roll out pipe storage racks have become indispensable in warehouses, manufacturing plants, and industrial facilities that handle long, heavy materials like pipes, rods, and tubing. Unlike traditional storage solutions, these racks offer enhanced accessibility, space efficiency, and load-bearing capacity—all of which depend heavily on proper installation. A flawed installation can compromise structural integrity, reduce operational efficiency, and even pose safety hazards for workers and equipment. This comprehensive guide breaks down the installation procedure for roll out pipe storage racks in detail, ensuring that every step is executed correctly to maximize the rack’s lifespan and functionality. Whether you’re a warehouse manager overseeing a new setup or a technician tasked with assembly, following this structured process will help you achieve a reliable, safe storage system.
Installation Procedure for Roll out Pipe Storage Racks: A Step-by-Step Guide for Optimal Performance
FAQ
Here are some frequently asked questions about our sheet metal racks and pipe storage solutions. We hope you find them helpful!
Q1: Can I request a custom size or color?
Absolutely. We offer complimentary design services and deliver efficient, tailored solutions to meet your specific requirements.
Q2: Are you a manufacturer or a distributor?
We are a direct manufacturer with over 15 years of industry experience and expertise.
Q3: Is there a minimum order quantity?
No. We welcome orders of any size, starting from a single unit.
Q4: How can I get detailed product information?
Click the “Get a Quote” button to receive product images, detailed specifications, and videos. Our team is always ready to assist.
Q5: How do I provide my storage rack requirements?
Simply share the type, dimensions, and quantity of materials you plan to store, along with any other specific needs. We will develop a professional storage solution for you. Alternatively, leave your contact details for a personalized consultation.
Q6: Do you offer automated loading systems or robotic arms?
Yes. We provide loading robotic arms and integrated loading/unloading systems tailored to your laser cutting machine’s table size and material handling method (e.g., board rack, exchange platform, or material warehouse). Contact us with your details for a customized proposal.
Q7: Do you provide on-site installation and debugging?
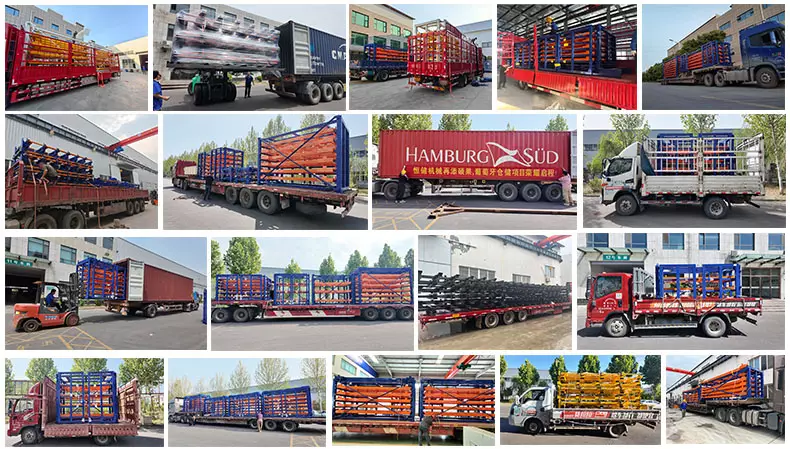
Yes. Our technicians can travel to your facility for installation and debugging, ensuring successful operation. We have served clients globally, including in the USA, South Korea, Russia, Qatar, Mexico, South Africa, Egypt, and Lebanon.
Q8: How do you ensure product quality?
Our quality assurance includes:
A team of over 40 technical engineers for professional debugging and support.
A dedicated quality control department compliant with ISO9001 standards.
CE certification for all exports.
Rigorous load testing before shipment to ensure structural safety and reliability.
Q9: Where is your factory located?
Our modern 10,000-square-meter manufacturing facility is located in Jiyang Industrial Park, Jinan, Shandong, China.
Q10: How can I evaluate your company’s capabilities?
We offer virtual video factory tours and warmly welcome on-site visits.
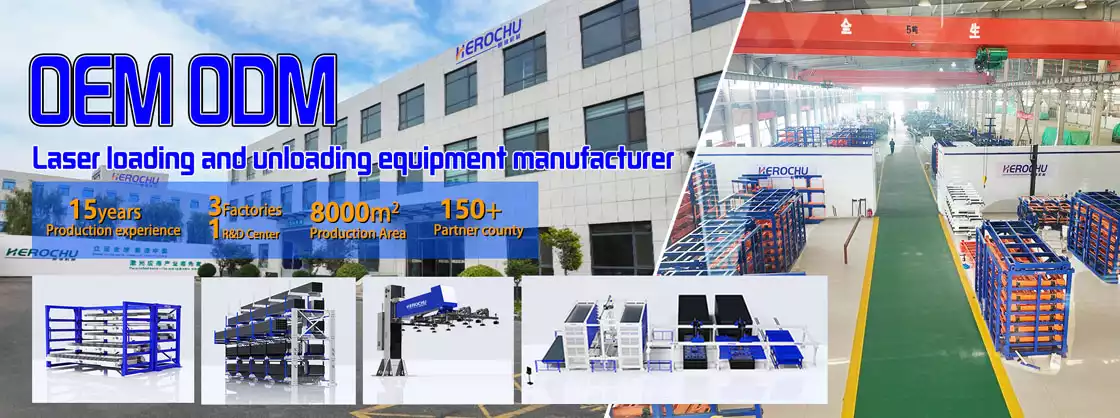
Q11: What does your company specialize in?
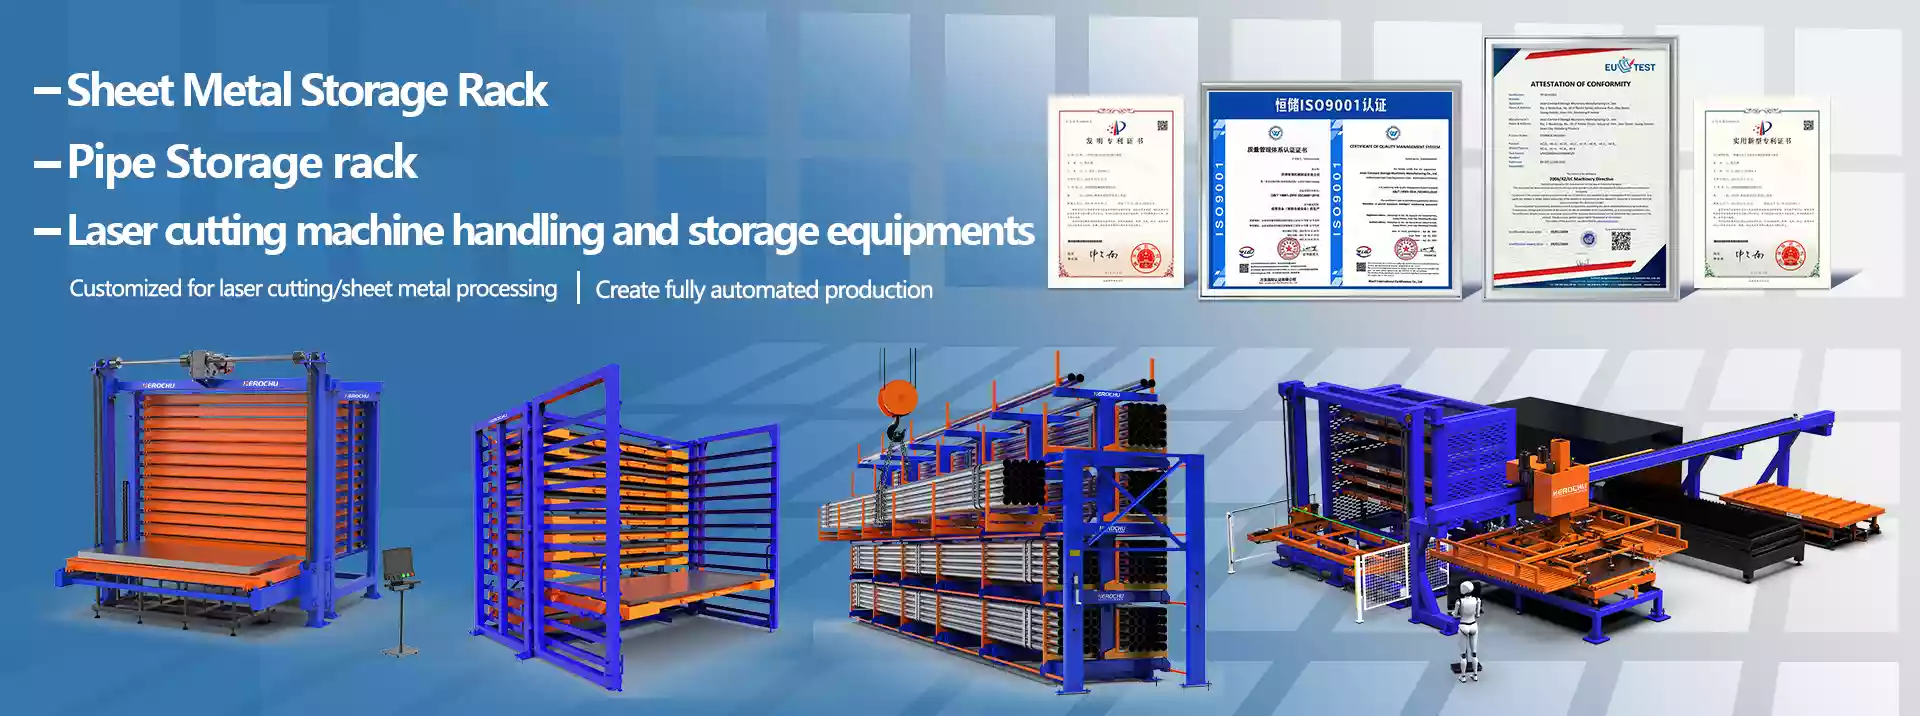
Jinan Constant Storage Machinery Manufacturing Co., Ltd. is a high-tech enterprise specializing in the R&D, production, sales, installation, and service of intelligent storage solutions. Our product range includes sheet material warehouses, drawer-style shelves, cantilever racks, servo manipulators, gantry loaders, and fully automated handling systems. Supported by a skilled technical team and advanced equipment, we are committed to delivering high-performance storage products and solutions to customers worldwide.
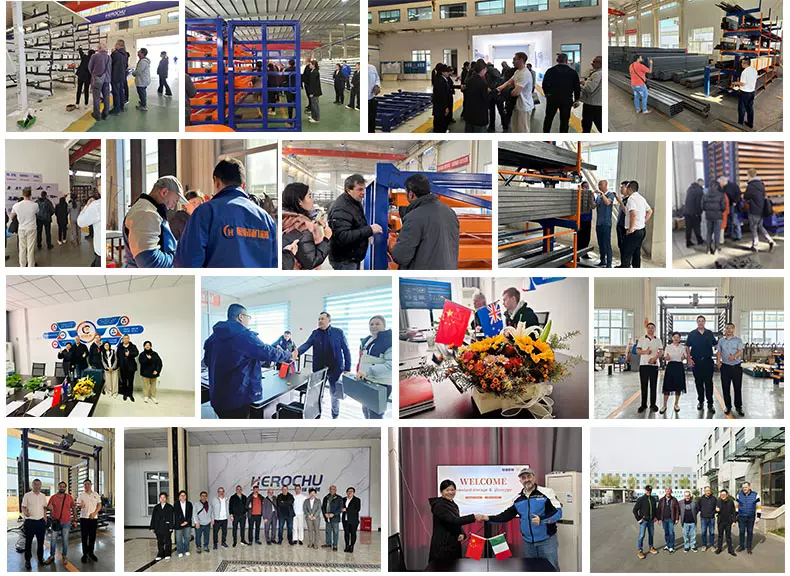
Customer visit
Herochu has always been adhering to the market-centric approach to meet customer requirements to the maximum extent, and the business philosophy of “creating brands with heart and gaining reputation with sincerity”. It provides customers with high-quality products and services with rigorous military quality, professionalism, and excellence, and has won unanimous praise in the Chinese aerospace, Chinese weapons, Chinese railways, automobile manufacturing, engineering machinery, non-ferrous metal titanium alloy and other industries.
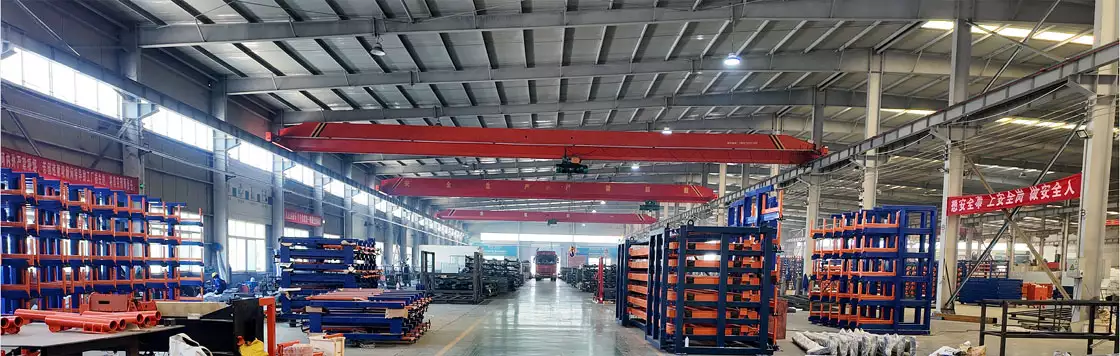
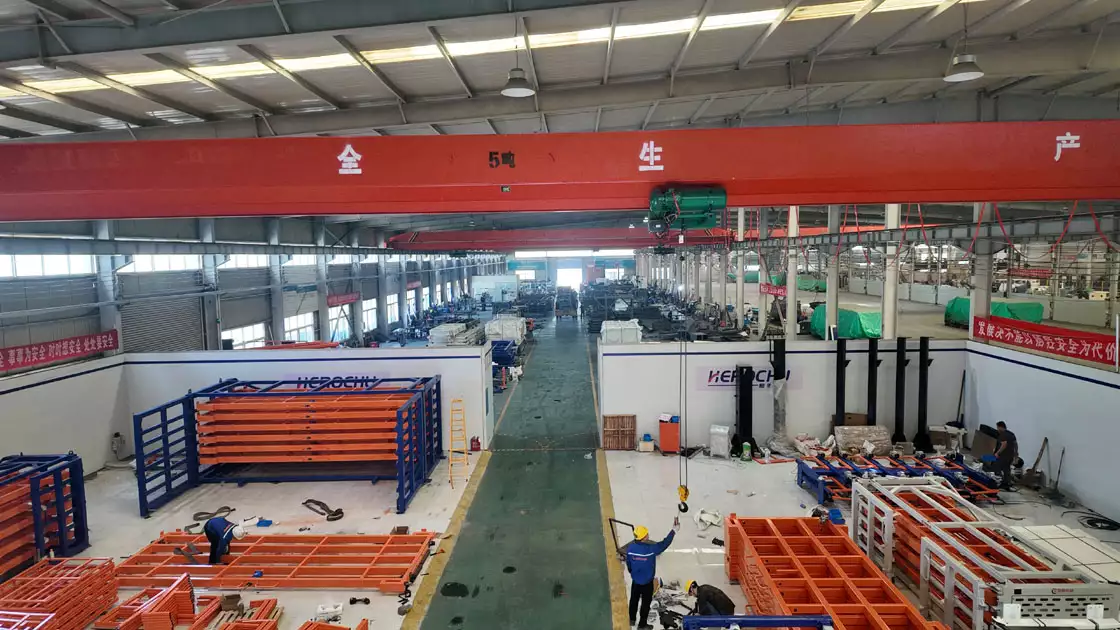
Factory
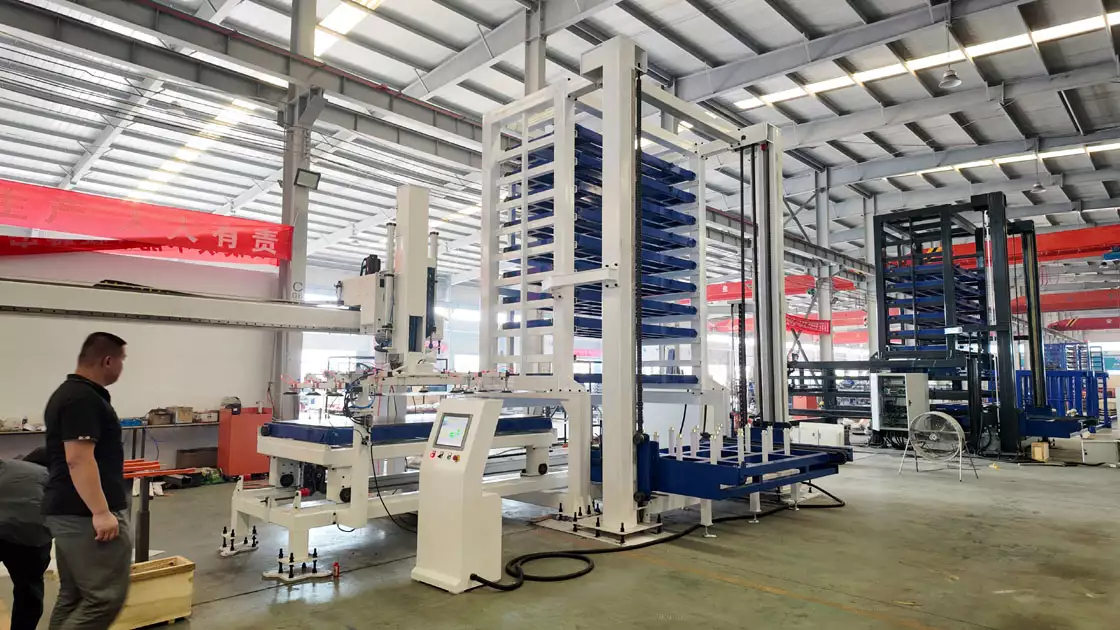

Hot Selling Machines
-
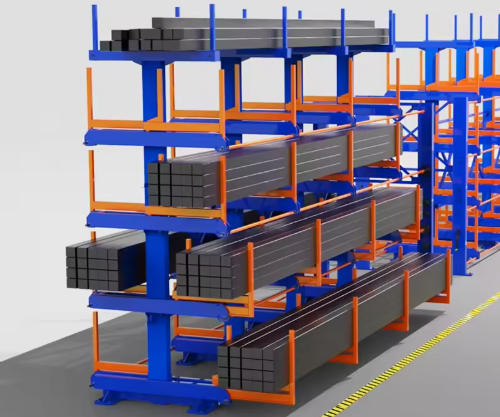
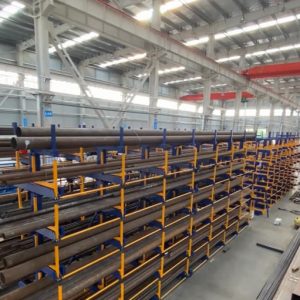
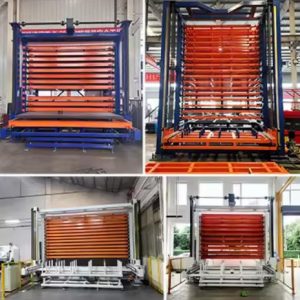
Pipe Storage Rack
Professional Installation Process for Heavy-Duty Pipe Storage Racks
Read moreRated 0 out of 5 -
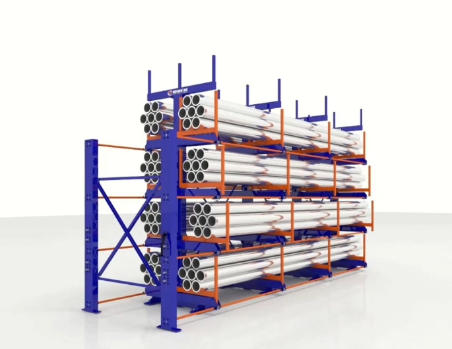
Pipe Storage Rack
Installing Roll out Cantilever Pipe Racks: Tips for Efficiency and Long-Term Durability
Read moreRated 0 out of 5 -
Pipe Storage Rack
Installation Procedure for Roll out Pipe Storage Racks: A Step-by-Step Guide for Optimal Performance
Read moreRated 0 out of 5 -
Telescopic Cantilever Racking Systems
Professional Installation Process for Industrial Cantilever Storage Racks
Read moreRated 0 out of 5 -
Pipe Storage Rack
Step-by-Step Installation Guide for Heavy Duty Cantilever Tube Storage Racks
Read moreRated 0 out of 5 -
Automation Sheet Metal Material Warehouse
High Standard Manufacturer Smart Automated Storage Systems – Reliable, Custom & CE-Certified for Global Markets
Read moreRated 0 out of 5 -
Automation Sheet Metal Material Warehouse
Smart Racking System for Laser Cutter & Intelligent Production Line CNC Automated Storage Rack
Read moreRated 0 out of 5 -
Automation Sheet Metal Material Warehouse
Automatic Loading and Unloading Warehouse Intelligent Storage Equipment: Speed, Accuracy & Reliability
Read moreRated 0 out of 5

Related products

Product Categories