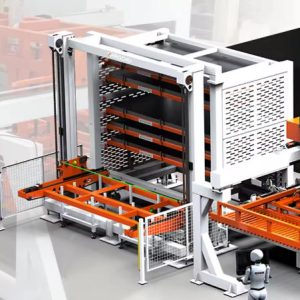
Understanding how to install heavy-duty telescopic cantilever racking is crucial for warehouse managers and installation teams aiming to maximize storage density for long materials. This system, renowned for its ability to improve space utilization by eliminating forklift aisles, requires a precise assembly sequence to ensure its 3-8 ton per arm load-bearing capacity is safely realized. This manual provides a complete, detailed walkthrough of the installation, from unboxing to load testing, serving as an essential reference for a successful project.
Phase 1: Site Preparation and Component Verification
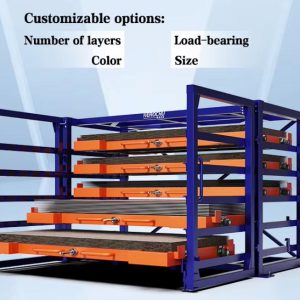
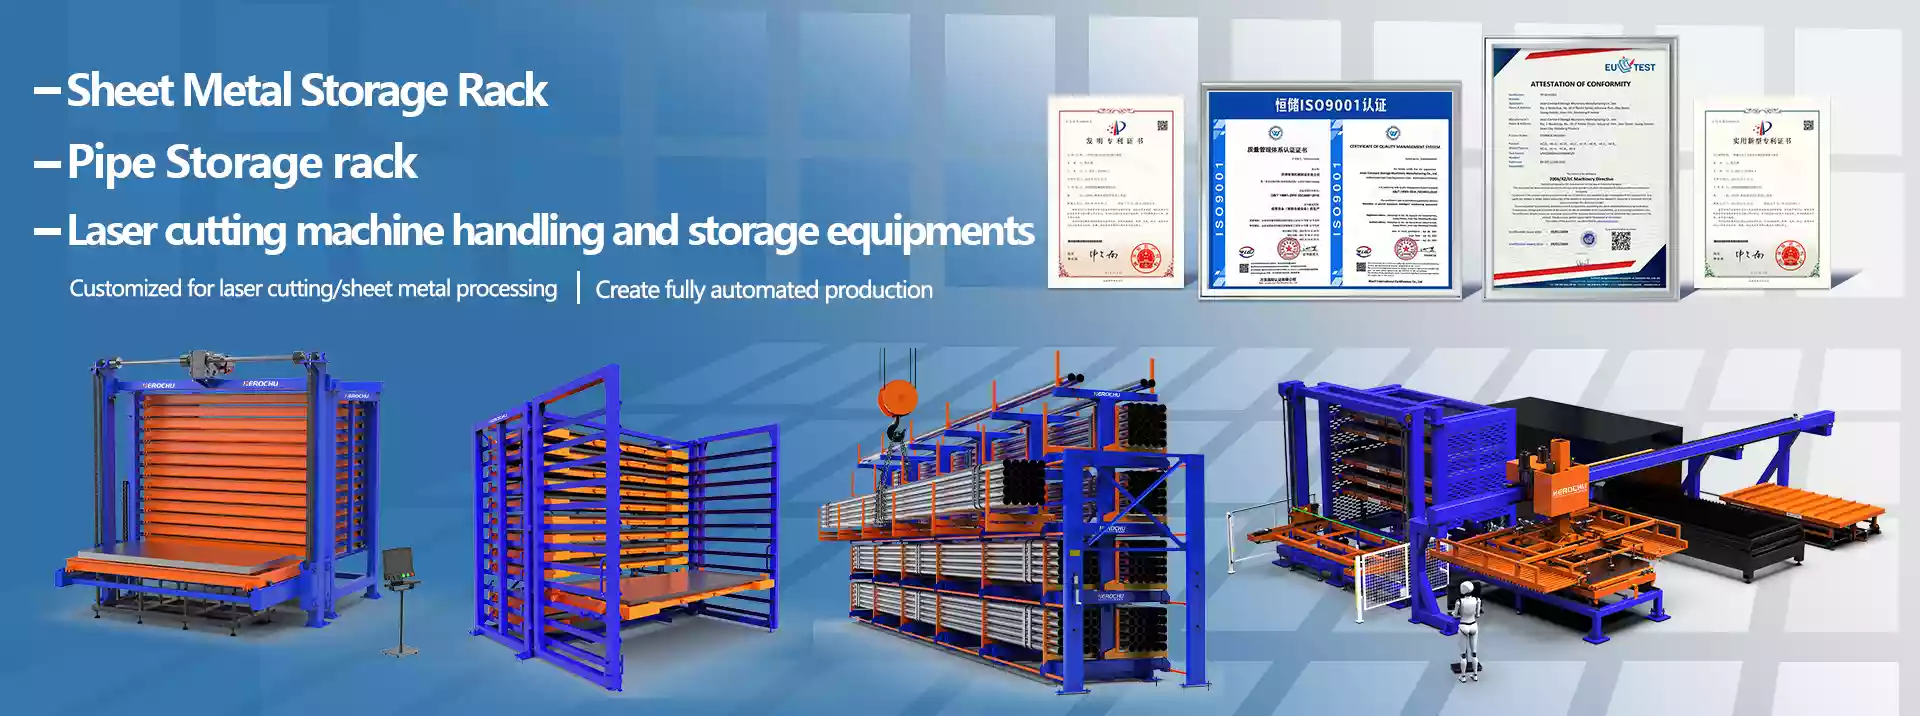
Initiate the project by preparing the installation site. The floor must be clean, level, and structurally sound. Mark the precise locations for the upright columns based on your rack design, which dictates the number of layers and overall footprint. Unpack all components systematically. A typical heavy-duty telescopic cantilever racking system includes upright columns (made from high-grade carbon steel), fixed and telescopic tube arms, various connecting elements (square tubes, angle irons), diagonal and cross braces, chain boxes, and all necessary hardware. Verify quantities and inspect for any transit damage before commencing.
Phase 2: Frame Erection – Building the Structural Backbone
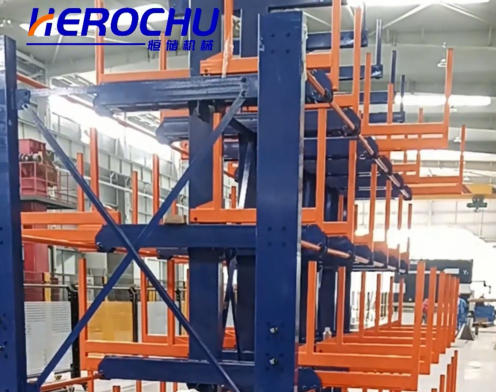
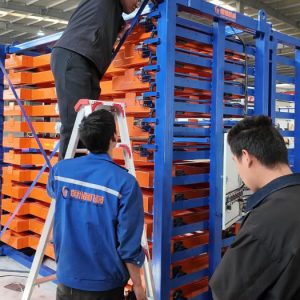
The stability of the entire system hinges on a correctly erected frame. Start by positioning the first two upright columns. The professional method often starts by connecting the square tubes at the top between these uprights before they are fully vertical, as this aids in alignment. Then, connect the angle iron cross braces at the designated heights to form a rigid H-frame. Lift this assembly into position. Now, erect the second set of upright columns at the planned bay width. Connect this new set to the first using the longitudinal angle irons and the critical diagonal braces that resist lateral forces. Repeat this process—connect top square tubes, add cross braces, then connect to the previous bay—in sequence until all upright columns are erected. Ensure all bolts are inserted and started by hand, avoiding full tightening until later.
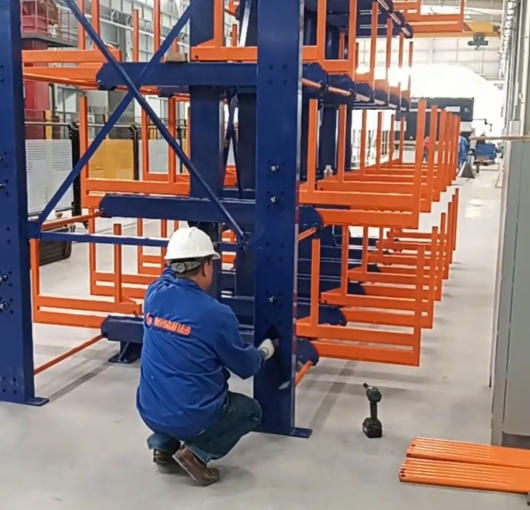
Phase 3: Arm and Mechanical System Assembly
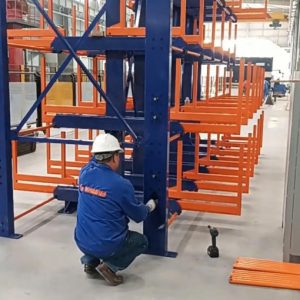
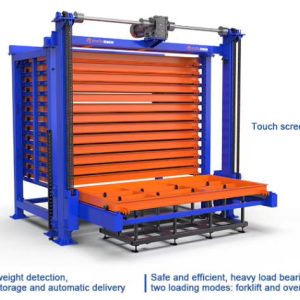
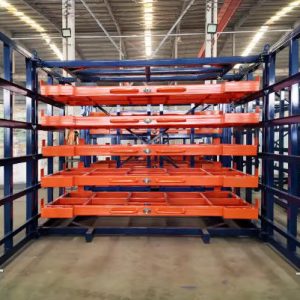
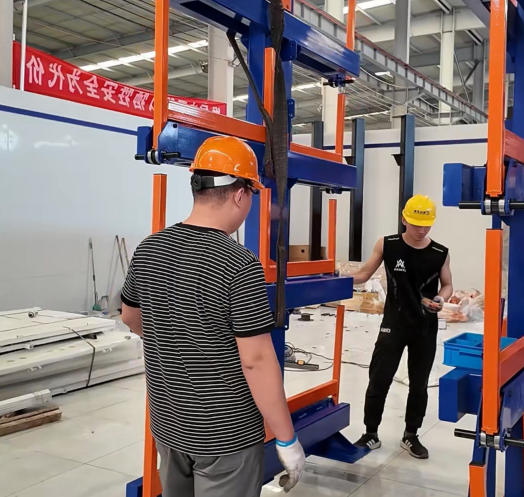
This phase focuses on the functional elements: the arms and the extension mechanism. Begin installing the welded round tubes (the fixed arm bases) onto the uprights. Adjust the spacing vertically to match your storage needs, accommodating various material lengths. Subsequently, slide the telescopic tube arms into these bases. The installation process of heavy-duty telescopic cantilever tube racking now introduces the synchronized movement system. Erect the chain boxes, which are mounted at the end of the rack run. Connect them to the upright columns using the supplied round tubes as per the diagram. Then, meticulously connect the two chains to the angle irons that run along the telescopic arms. This linkage is what allows multiple arms on a level to extend uniformly when the chain is cranked or driven electrically.
Phase 4: Precision Alignment and Permanent Fixing
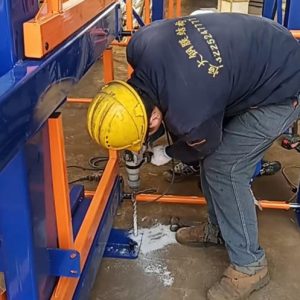
With the entire structure assembled loosely, shift focus to precision. Using levels and lasers, begin adjusting for horizontal and vertical alignment across the entire run of racks. This step is non-negotiable for smooth operation and even load distribution. Check each upright for plumb and each arm for level. After leveling, proceed to fasten all screws definitively. Use a calibrated torque wrench to tighten all nuts to the manufacturer’s specified values, ensuring every joint from the base to the top brace is secure. Following this, proceed with permanent floor fixing. Begin fixing the anchor bolts into the concrete through the base plates. This anchoring is critical for safety, preventing any shift during loading or seismic activity.
Phase 5: Commissioning, Testing, and Operational Verification
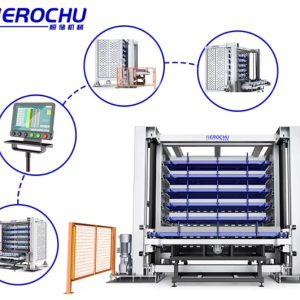
The final phase validates the installation. Conduct a thorough system debug. Operate the mode of movement—whether it’s a single side assisted hand crank or an electric button—to extend and retract each layer. Listen for unusual sounds and observe for smooth, even movement of all arms on the engaged level. The bottom floor height from ground (330mm) should be consistent and accessible. Finally, execute a loading test. Gradually load the arms to their rated capacity, monitoring the structure for any signs of undue stress or deformation. This step confirms that the step-by-step installation guide for heavy duty cantilever tube storage racks has been followed correctly, resulting in a safe, operational system ready to organize materials, facilitate classification and management, and transform your warehouse space.