Keywords integrated: Installation Procedure for Heavy-Duty Telescopic Cantilever Tube Racking Systems
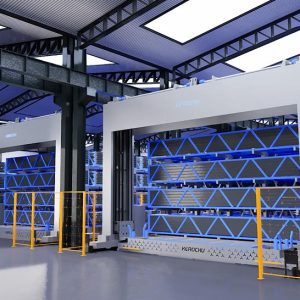
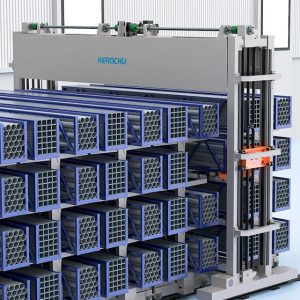
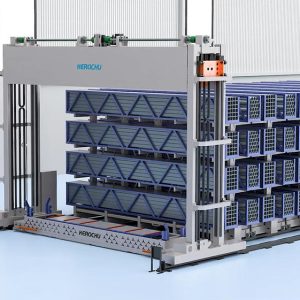
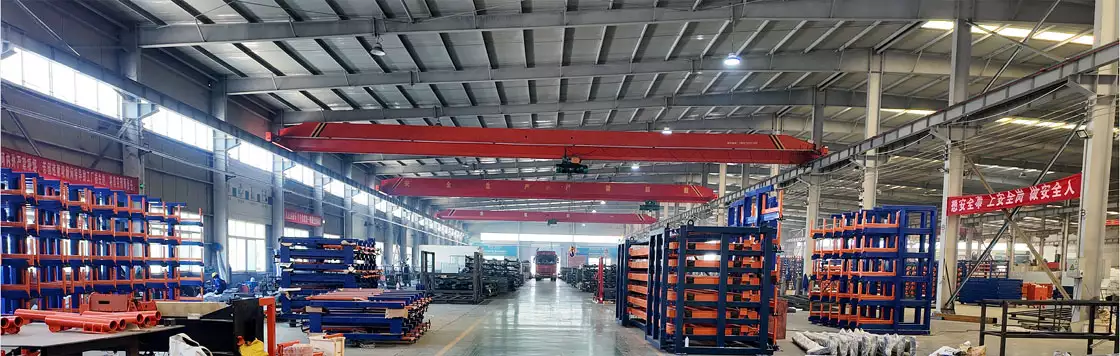
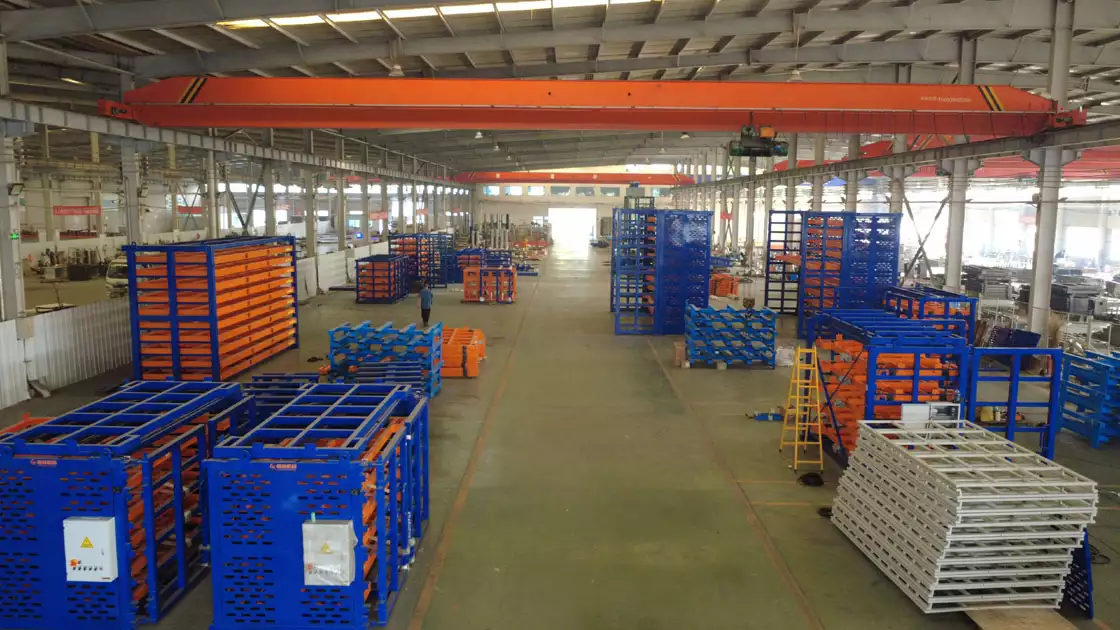
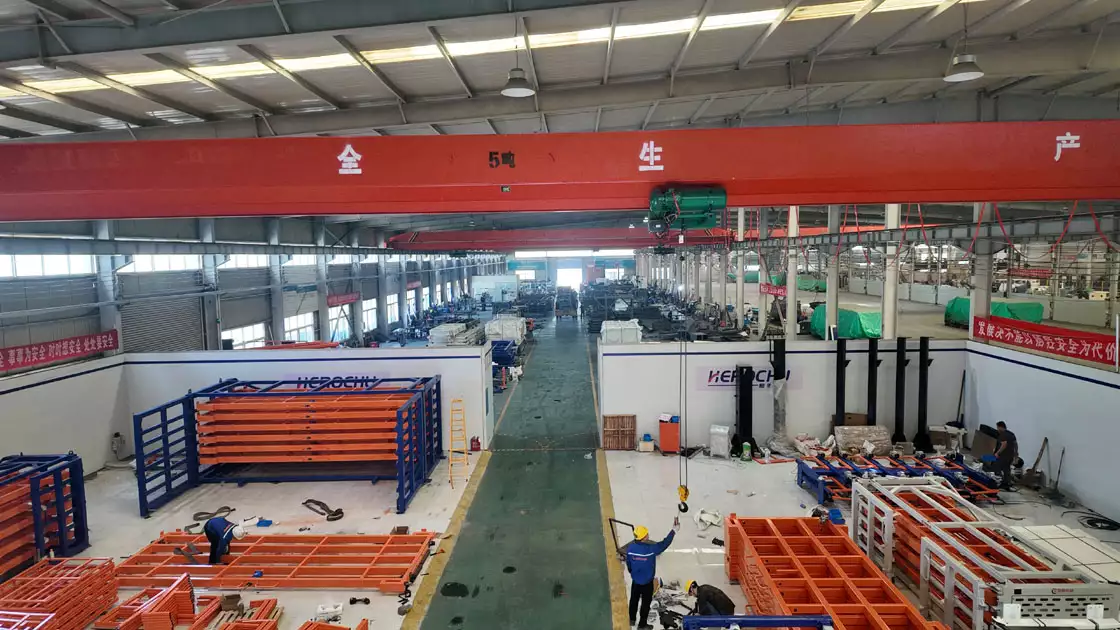
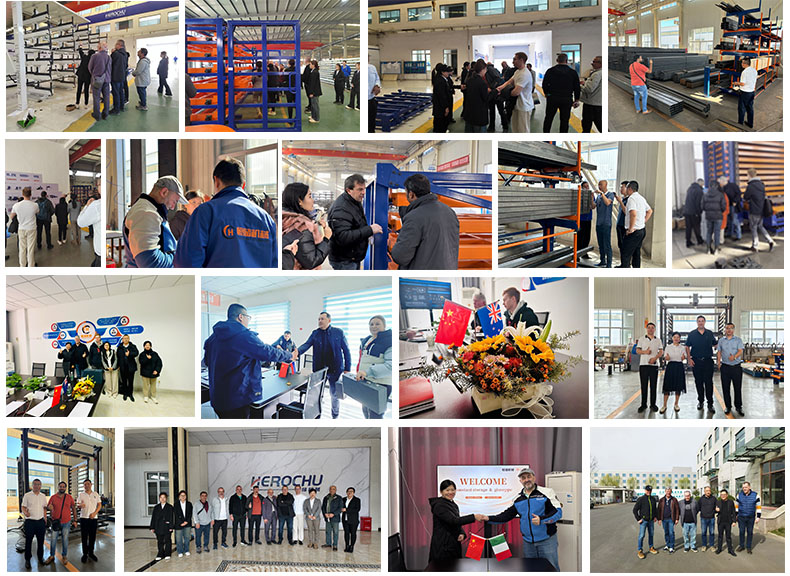
When space is tight and materials are long, heavy, and valuable, standard racking falls short. Enter heavy-duty telescopic cantilever tube racking systems—engineered for maximum density and effortless access. But their sophisticated mechanics demand a disciplined, phase-based installation procedure. This guide details the exact sequence used by certified installers worldwide.
Core Principles of Installation
- Frame First, Mechanics Second: Build structural integrity before adding moving parts.
- Align Before Locking: Never fully tighten until all components are co-planar.
- Test Under Load: Validation is non-negotiable.
Detailed Installation Sequence
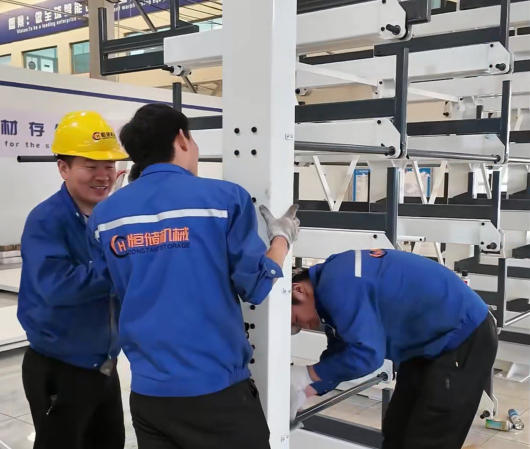
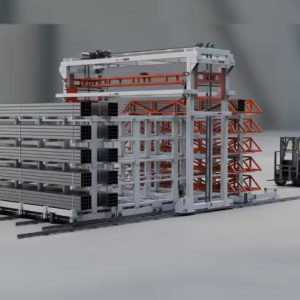
Step 1: Header and First Upright Pair
Connect the top square tube between Upright A and B. Position on floor marks. Attach front angle iron cross brace. Add rear cross brace. Install one diagonal brace for triangulation.
Step 2: Expand the Bay
Erect Upright C. Connect to B with angle irons and diagonals. Repeat for D, E, etc. Always maintain consistent spacing. Use a tape measure with tension gauge to avoid cumulative error.
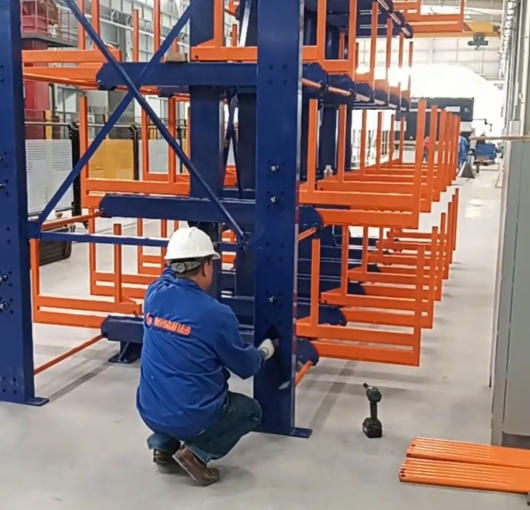
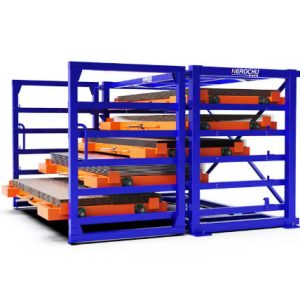
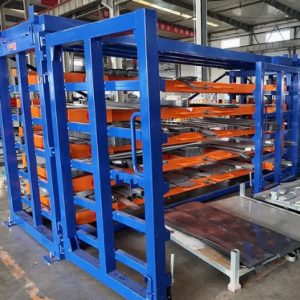
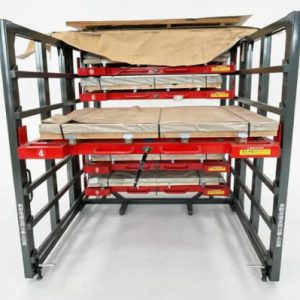
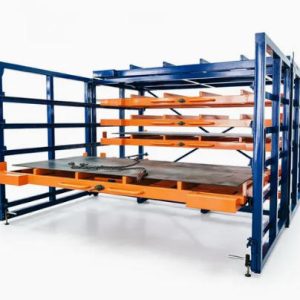
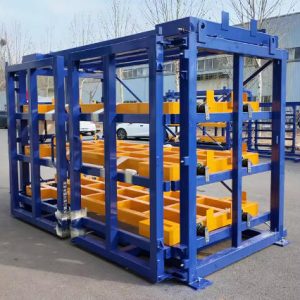
Step 3: Install Arm Support Tubes
Insert welded round tubes into height-adjustable brackets. Typical layer count: 4–12. Set spacing per material length. Hand-tighten only.
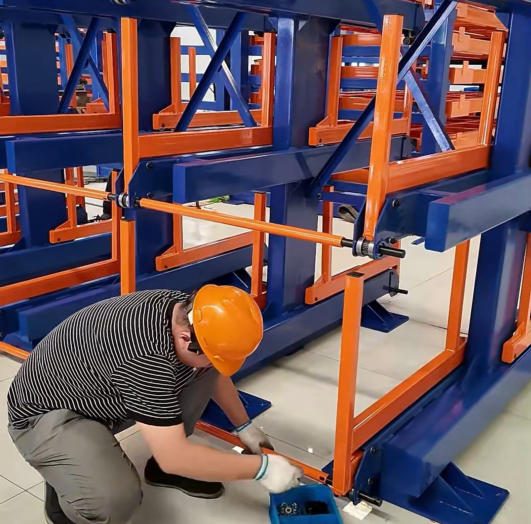
Step 4: Mount Chain Boxes
Secure chain housings to uprights. Thread drive chains through sprockets. Link left/right chains with a central angle iron to prevent skewing.
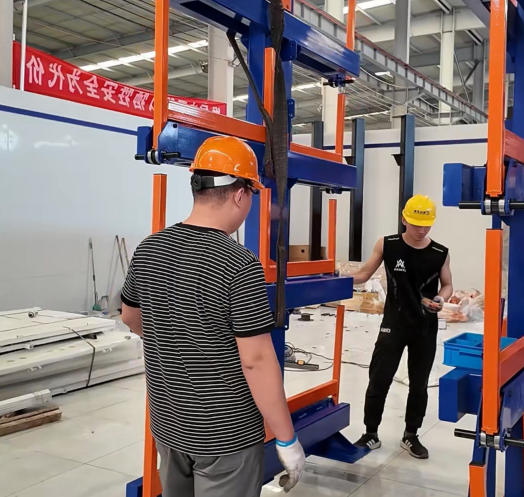
Step 5: Initial Movement Test
Crank or power each arm through full extension/retraction. Check for binding. Lubricate rails if needed.
Step 6: Laser Alignment
Adjust uprights to perfect verticality. Level all rails to within ±1 mm. Shim base plates as required.
Step 7: Final Torquing
Using calibrated wrenches, tighten all bolts to spec (e.g., M20 @ 90 Nm). Follow a crisscross pattern.
Step 8: Anchor Installation
Drill holes through base plate holes. Clean with air jet. Inject epoxy. Insert anchor rods. Allow 24-hour cure.
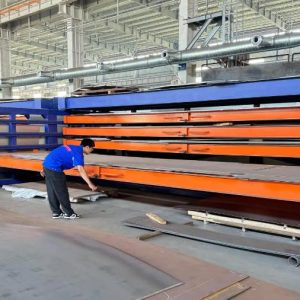
Step 9: Load Validation
Apply 25% → 50% → 75% → 100% load in stages. Hold 10 minutes each. Measure deflection. Acceptable: < span/180.
Why This Procedure Wins
- Safety: Prevents tip-overs and arm collapse.
- Longevity: Proper alignment reduces wear on chains and rails.
- Efficiency: Once installed, retrieval time drops by 60% vs. static racks.
- Scalability: Modular design allows future expansion.
With a bottom clearance of 330 mm, even low-profile equipment can operate underneath. And with 3–8 ton capacity per layer, these racks handle everything from timber beams to steel I-beams.
In an era where warehouse real estate costs $ 100+/sq.ft annually, the space savings alone justify the system. Add in labor reduction, damage prevention, and inventory accuracy—and the case becomes undeniable.
But none of this matters without correct installation. Follow this procedure exactly, and your cantilever racking will deliver peak performance for decades.