Keywords integrated: How to Install Heavy-Duty Telescopic Cantilever Racking: A Step-by-Step Guide
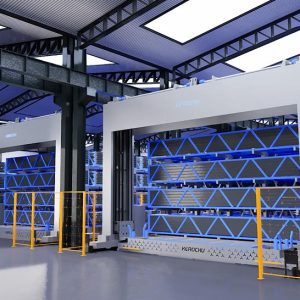
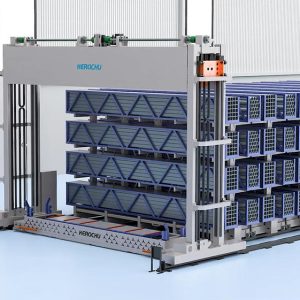
Heavy-duty telescopic cantilever racking systems have revolutionized the storage of long, irregular, or heavy industrial goods. From construction yards to metal fabrication plants, these systems maximize floor space while enabling rapid access. But their complexity demands a disciplined installation approach. This article provides a clear, actionable roadmap for safely and effectively installing these advanced storage units.
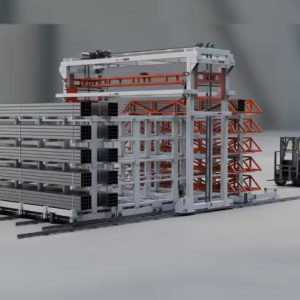
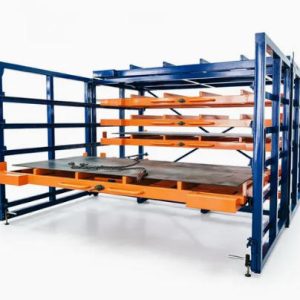
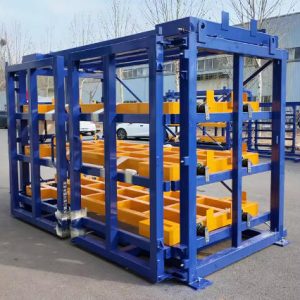
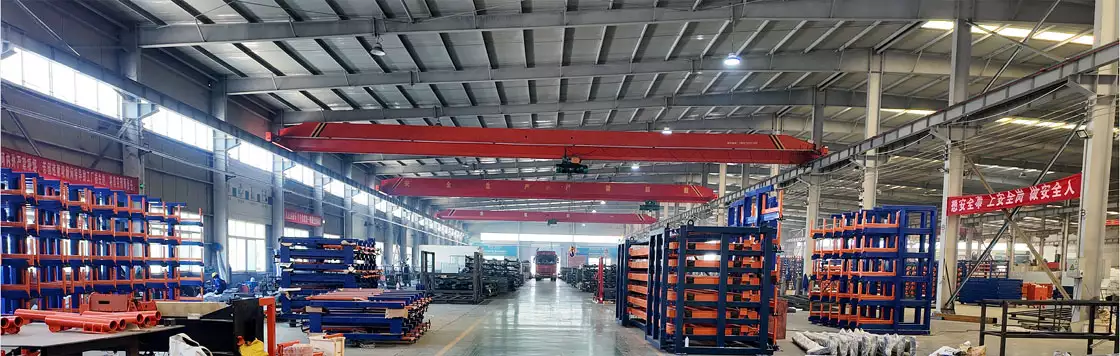
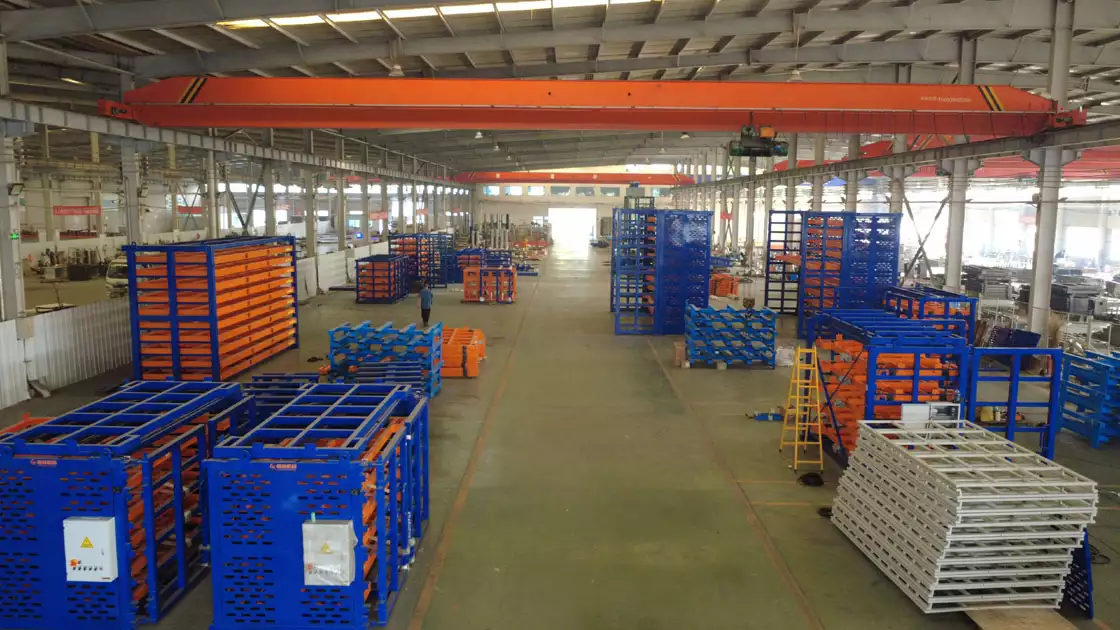
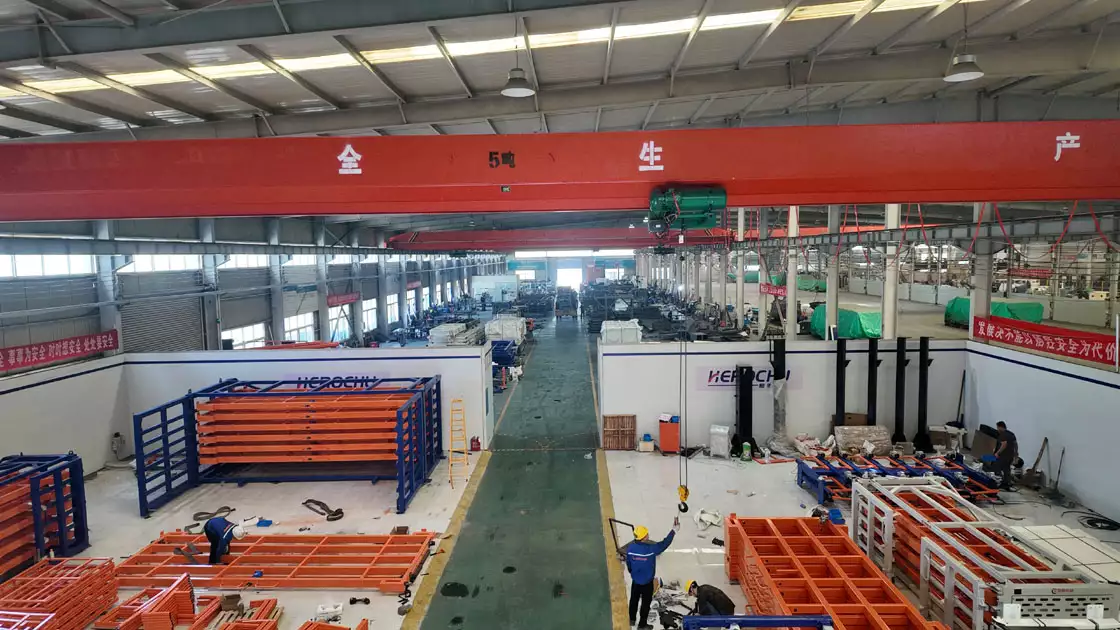
Understanding the System Components
Before installation, familiarize yourself with key parts:
- Upright Columns: Vertical supports made of reinforced carbon steel.
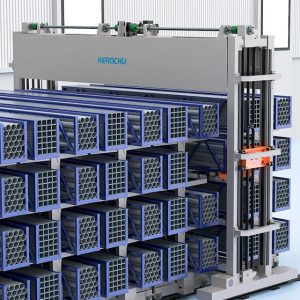
- Telescopic Arms: Sliding tubes that extend/retract; load capacity: 3–8 tons/layer.
- Bracing System: Angle irons and diagonal braces for rigidity.
- Chain Mechanism: Synchronizes arm movement (manual or electric).
- Anchor Bolts: Secure base to concrete floor.
Each component must be handled with care—scratches or bends can compromise structural performance.
Site Readiness Checklist
Ensure the warehouse floor is clean, dry, and level. Use a digital inclinometer to confirm slope ≤1%. Mark column positions using chalk lines based on engineering drawings. Have torque wrenches, laser levels, and socket sets ready.
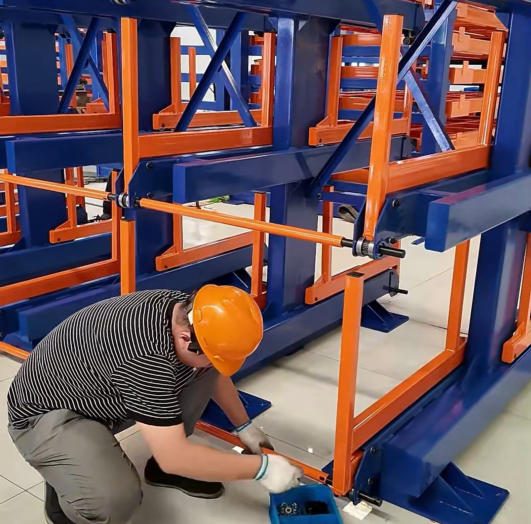
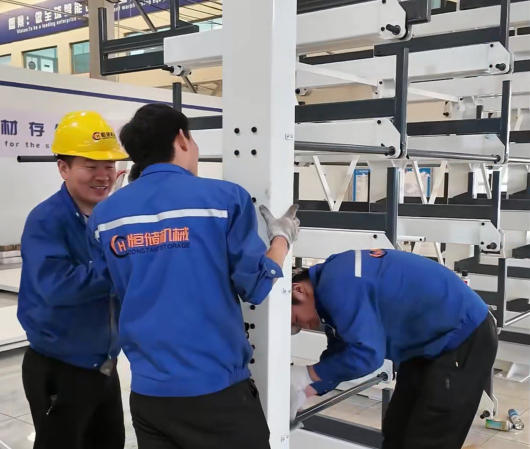
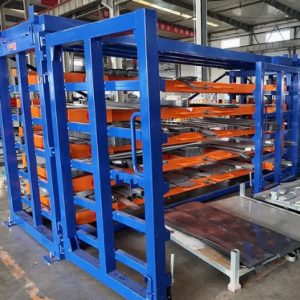
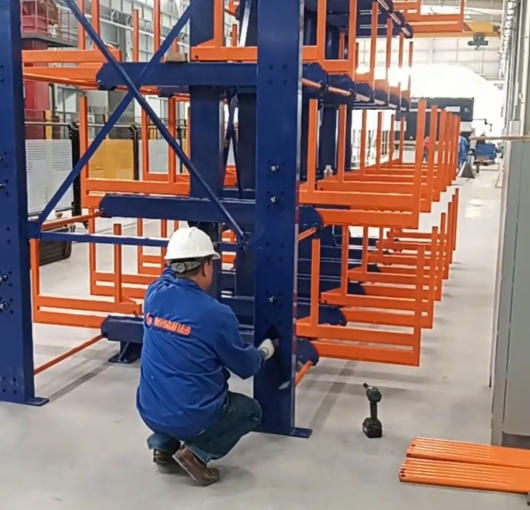
Step 1: Assemble the Upright Frame
Start by linking the top square tubes between the first two uprights. This creates a stable header. Position them at the marked spot and install front and rear angle iron cross braces. These act like a building’s shear walls—resisting side-to-side motion.
Erect the next column set and repeat, adding diagonal braces between uprights for triangulation. Continue sequentially until the entire bay is framed. Never skip bracing—even temporary omission can cause collapse during arm installation.
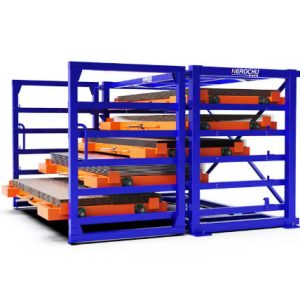
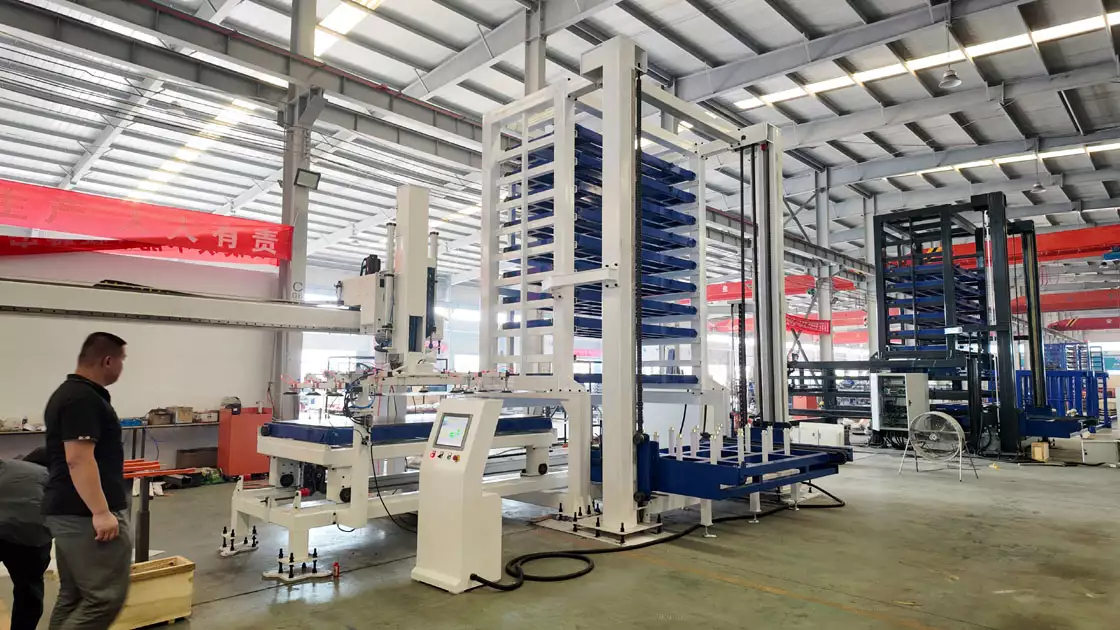
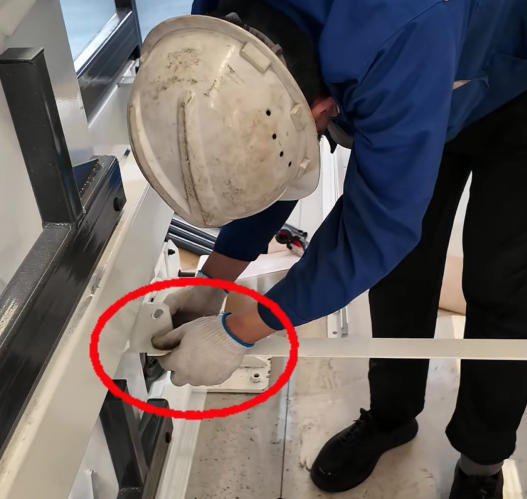
Step 2: Mount the Sliding Rails
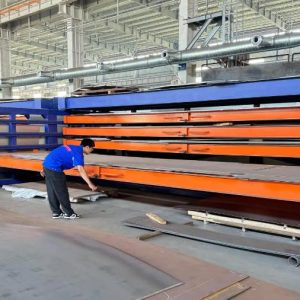
Install the welded round tubes horizontally between uprights at predetermined heights (e.g., every 600 mm for 8 layers). These rails guide the telescopic arms. Slide arms into place but leave fasteners loose. This “floating” state allows fine-tuning during alignment.
Note: Arm spacing should match your longest stored item plus 150 mm clearance.
Step 3: Integrate the Extension Mechanism
Attach chain boxes to the uprights. These enclosures protect the drive chains from dust and impact. Connect the dual chains inside using linking angle irons—this ensures both sides of an arm extend simultaneously. Misaligned chains cause jamming and uneven wear.
For electric models, wire the motor to a dedicated circuit (220V/50Hz typical). Include emergency stop buttons per OSHA guidelines.
Step 4: Precision Alignment
This is the most overlooked yet vital phase. Use a rotating laser to check:
- Vertical alignment of all uprights (max 1 mm deviation per meter).
- Horizontal consistency of rail heights.
- Smooth, silent arm retraction/extension.
Adjust base shims if needed. Only after perfect alignment should you torque all bolts to spec.
Step 5: Anchor and Validate
Drill anchor holes through base plates. Insert M20 or M24 anchors (depth ≥150 mm). Cure chemical anchors per instructions (usually 24 hours). Then perform progressive load testing with calibrated weights.
Document results. Any deflection >L/180 (where L = arm length) indicates design or installation flaws.
Why This Process Works
This method prioritizes structural harmony over speed. By assembling the frame first, then integrating moving parts, and finally locking everything in place after alignment, you eliminate cumulative errors. The result? A system that delivers decades of reliable service.
Moreover, telescopic cantilever racks eliminate aisle waste. Traditional racks require 3-meter forklift lanes; these need none. In a 1,000 m² warehouse, that’s an extra 300 m² of usable space—enough for 50+ additional tons of inventory.
Combine this with customizable layers (4–12) and color-coded arms for SKU differentiation, and you’ve got a storage solution that’s as smart as it is strong.